Are you tired of searching through cluttered cabinets every time you need cooking oil? Keeping your kitchen oils organized can save you time, reduce mess, and even extend the life of your oils.
Imagine opening your kitchen and instantly finding the right oil without hassle. You’ll discover simple, practical tips to arrange your oils so your cooking space feels cleaner and more efficient. Ready to transform your kitchen and make cooking easier? Let’s dive in!
Credit: www.rd.com
Choosing The Right Containers
Organizing cooking oil in the kitchen helps keep it fresh and easy to use. Picking the right container is key to storing oil properly.
The container type affects oil quality and kitchen cleanliness. Let’s look at some important container features.
Glass Vs Plastic Bottles
Glass bottles keep oil pure and do not react with it. They are easy to clean and do not absorb smells.
Plastic bottles are lighter and less likely to break. But some plastics can let air or light in, which harms oil.
- Glass keeps oil fresh longer.
- Plastic is safer to drop but may affect oil taste.
- Choose food-grade containers to avoid chemicals.
Airtight Seals
Oil stays fresh when air cannot enter the container. Airtight seals stop air from spoiling the oil.
Look for bottles or jars with tight caps or lids. This helps keep oil from going rancid quickly.
- Use containers with screw caps or rubber seals.
- Check the seal before storing oil.
- Keep containers closed when not in use.
Dark Colored Containers
Sunlight damages oil and makes it spoil faster. Dark colored containers block light to protect oil.
Use amber or green bottles to keep oil fresh. These colors filter harmful light and keep oil stable.
- Choose dark glass bottles for best protection.
- Dark plastic can also help but check if it blocks light well.
- Store containers away from bright kitchen spots.
Optimal Storage Locations
Organizing oil in the kitchen helps keep it fresh and easy to find. Proper storage extends the shelf life of oils.
Choosing the right location protects oil from damage caused by light, heat, and air.
Cool And Dark Spots
Oils last longer when stored in cool, dark places. Light can break down oil and cause it to spoil faster.
- Keep oil away from windows and bright lights
- Use opaque or dark-colored bottles if possible
- Store oils in a pantry or cupboard that stays cool
Avoiding Heat Sources
Heat causes oils to go rancid quickly. Avoid storing oils near appliances that produce heat.
| Heat Source | Distance to Store Oil |
| Stove | At least 3 feet away |
| Oven | Separate cabinet or pantry |
| Dishwasher | Different shelf or room |
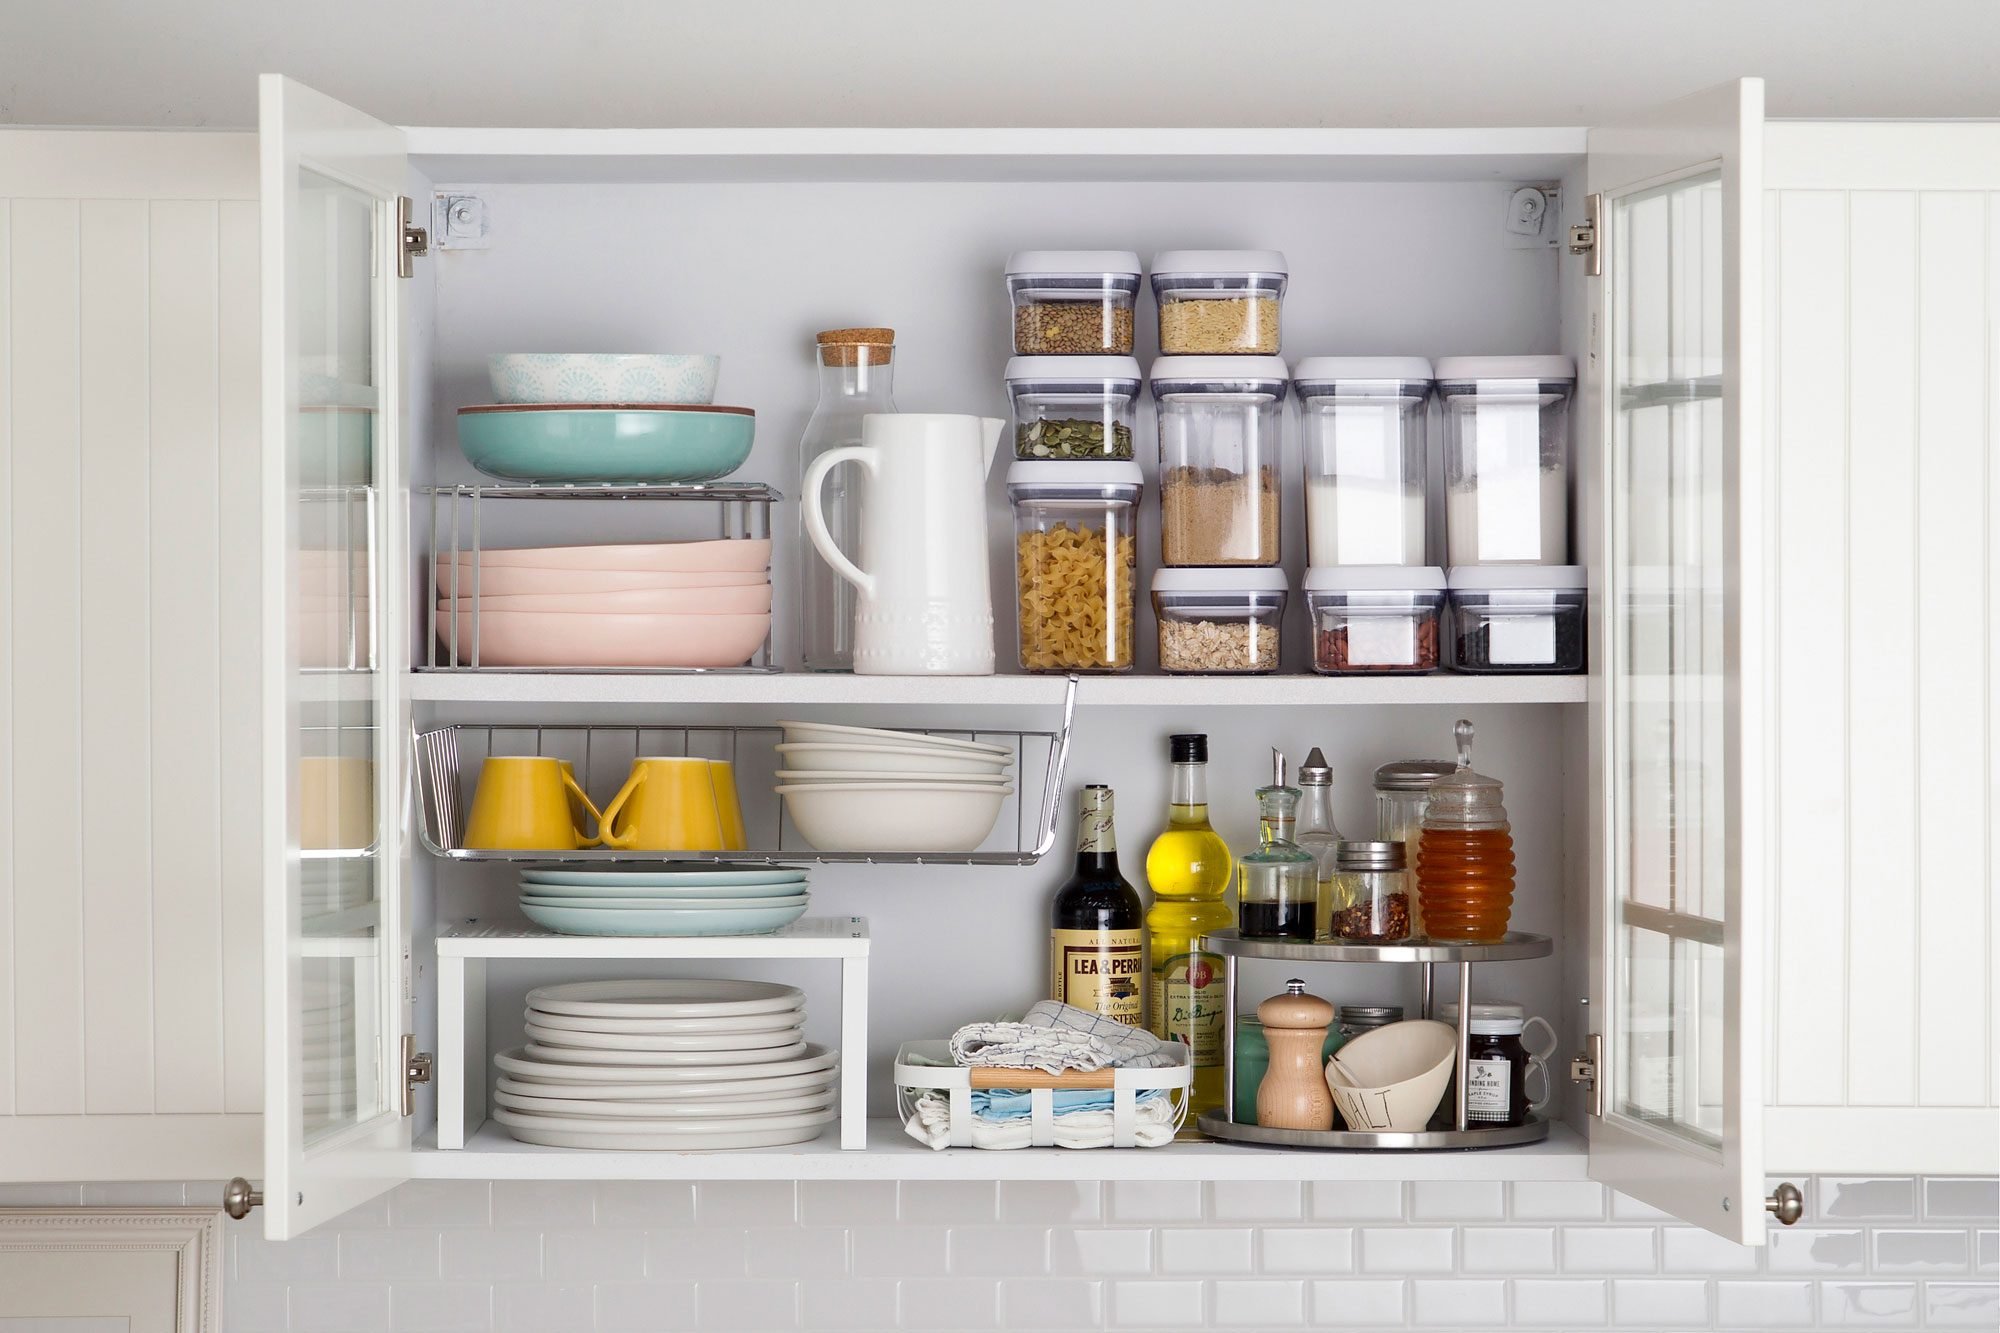
Using Pantry Or Cabinet Space
Pantries and cabinets offer ideal spots for oil storage. These areas are usually dark and cool.
Tips for pantry or cabinet storage:
- Place oils on a middle or lower shelf
- Keep bottles upright to prevent leaks
- Group oils by type for easy access
- Check expiration dates regularly
Labeling And Dating
Organizing oils in your kitchen helps keep them fresh and easy to find. Labeling and dating your oils is a simple way to stay organized.
Clear labels and dates prevent confusion and waste. This guide explains how to do it well.
Importance Of Labels
Labels tell you what type of oil you have. This is helpful when you store many bottles or containers.
Good labels prevent using the wrong oil by mistake. They also help you track different oil types for cooking.
- Identify oils quickly
- Avoid mixing similar bottles
- Keep track of oil types
Best Practices For Dating Oils
Oils can go bad over time. Adding dates to your labels helps you use them while fresh.
Write the date when you open or buy the oil. Use month and year to keep it simple.
- Write the opening date on the label
- Check dates before cooking
- Discard oils past their freshness
Using Chalkboard Or Stickers
Chalkboard labels and stickers are easy tools for labeling and dating oils. They let you change information as needed.
Chalkboard labels work well on glass bottles. Stickers are good for plastic containers or jars.
- Use chalkboard labels for reusable tags
- Choose waterproof stickers for durability
- Write clearly with a marker or chalk
Credit: www.hgtv.com
Organizing By Usage
Organizing your kitchen oils by how you use them helps keep your cooking space neat. It also makes it easy to find the right oil quickly.
This method groups oils based on their common uses. You can separate oils for daily cooking, special flavors, and finishing touches.
Everyday Cooking Oils
These oils are used most often for frying, sautéing, and baking. They usually have a high smoke point and mild flavor.
- Canola oil
- Vegetable oil
- Sunflower oil
- Light olive oil
- Peanut oil
Store these oils in easy-to-reach spots near your stove. Use clear containers if possible to see how much is left.
Specialty And Infused Oils
These oils add unique flavors to your dishes. They often come in smaller bottles and need careful storage.
| Type | Flavor | Use |
| Truffle oil | Earthy, rich | Drizzle on pasta or salads |
| Chili oil | Spicy | Add heat to stir-fries or dips |
| Garlic-infused oil | Garlicky | For dressings and marinades |
| Herb-infused oil | Fresh, herbal | Enhance roasted vegetables |
Keep these oils in a cool, dark place to preserve their flavors. Avoid heat and light exposure.
Separating Cooking And Finishing Oils
Cooking oils handle heat well. Finishing oils are added after cooking for taste.
- Cooking oils:High smoke point, mild flavor.
- Finishing oils:Strong aroma, used cold or lightly warmed.
Store cooking oils near your stove or oven. Keep finishing oils on a side shelf or counter for easy access during plating.
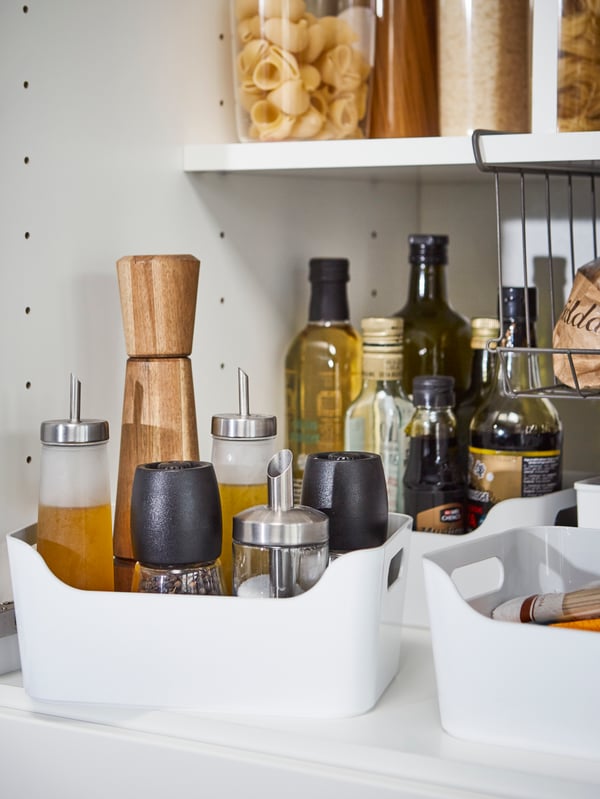
Smart Storage Accessories
Organizing oil in your kitchen keeps your cooking area neat. It also helps you find the right oil quickly.
Smart storage accessories make it easy to store and use oils without spills or clutter.
Oil Racks And Holders
Oil racks and holders keep bottles upright and stable. They save space and prevent bottles from tipping over.
- Wall-mounted racks save counter space
- Tiered holders show bottles clearly
- Rotating holders give easy access
- Labels on racks help identify oils fast
Lazy Susans
Lazy Susans spin to show all your oils at once. They fit well inside cabinets or on countertops.
| Feature | Benefit |
| 360-degree rotation | Easy access to all bottles |
| Raised edges | Prevents bottles from falling |
| Compact size | Fits in small spaces |
| Non-slip base | Keeps tray stable |
Spill-proof Trays
Spill-proof trays catch drips and spills from oil bottles. They protect your counters and shelves.
- Choose trays with raised edges
- Pick trays made of easy-to-clean materials
- Use trays under all oil bottles
- Clean trays regularly to avoid buildup
Maintaining Freshness
Keeping cooking oil fresh is important for taste and health. Proper storage helps oil last longer.
Organize your oils to avoid spoilage and waste. Follow simple steps to maintain freshness.
Regularly Checking Expiry
Always check the expiration date on oil bottles. Using expired oil can change the flavor and safety.
Keep older oils in front to use them first. This helps avoid waste and keeps your kitchen safe.
Proper Sealing After Use
Close oil bottles tightly after each use. Air can cause oil to go bad faster.
Use clean caps or lids and avoid leaving bottles open. This keeps oil fresh and prevents spills.
Avoiding Cross-contamination
Do not mix different oils in one bottle. Mixing can change the taste and cause spoilage.
Use separate utensils for each oil to keep them clean. This prevents bacteria and keeps oil pure.

Credit: www.ikea.com
Frequently Asked Questions
How To Store Cooking Oil To Keep It Fresh?
Store cooking oil in a cool, dark place away from heat. Use airtight containers to prevent exposure to air. Avoid storing oil near the stove or sunlight. Proper storage maintains oil quality and extends shelf life.
What Is The Best Container For Kitchen Oil Storage?
Glass or stainless steel containers are ideal for storing kitchen oil. They prevent contamination and avoid chemical reactions. Avoid plastic containers as they may affect oil taste and quality. Choose containers with tight-fitting lids.
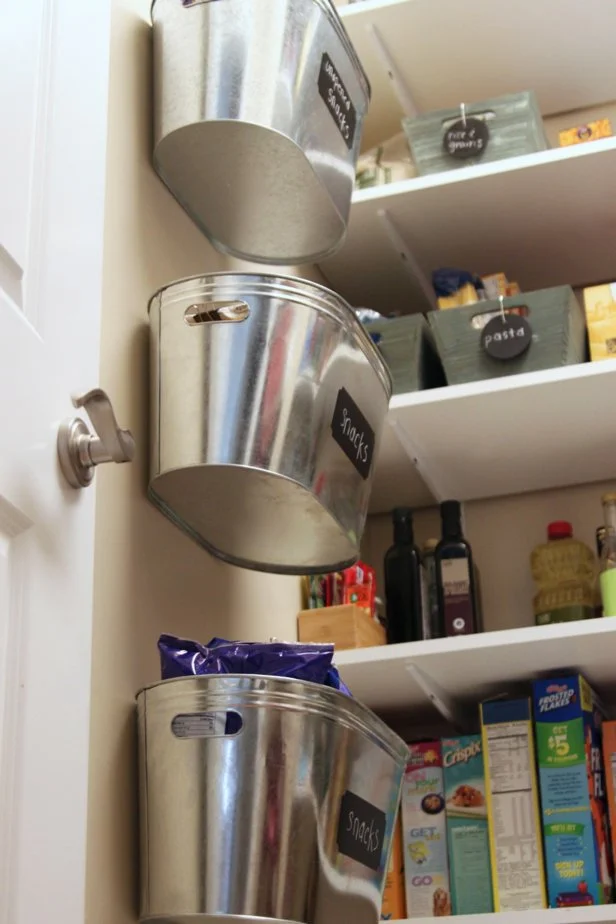
How To Organize Multiple Oil Bottles In Kitchen?
Use a tiered shelf or rotating spice rack to organize oil bottles. Label bottles clearly for easy identification. Group similar oils together for convenience. This method saves space and keeps the kitchen tidy.
Can I Store Oil In The Refrigerator?
Some oils, like flaxseed or walnut, benefit from refrigeration. Most common cooking oils do not need refrigeration but must be kept cool. Refrigeration can cause some oils to become cloudy but won’t harm them. Always seal containers tightly.
Conclusion
Organizing oil in your kitchen saves space and reduces mess. Store bottles in one place for easy reach. Use clear containers to know when to refill. Keep oils away from heat and light to stay fresh. Label different oils to avoid confusion while cooking.
Regularly check expiration dates to ensure quality. Simple steps make cooking smoother and your kitchen tidier. A neat kitchen helps you cook faster and enjoy meals more. Small changes lead to big improvements in kitchen organization.